Awtrix Ulanzi + Domotic = ❤️
I think many of us have our own collection of smart gadgets at home, connected to platforms like Jeedom, Home Assistant, or others.
Personally, I have about ten sensors that allow me to monitor temperature, air quality, electricity consumption, and a few actuators to control lights and smart plugs.
Most of my gadgets work with WiFi or ZigBee (a protocol used by Xiaomi, Philips Hue, Ikea, etc.).
So far, nothing too complicated, everything is integrated into Home Assistant and I can control everything from my phone or computer.
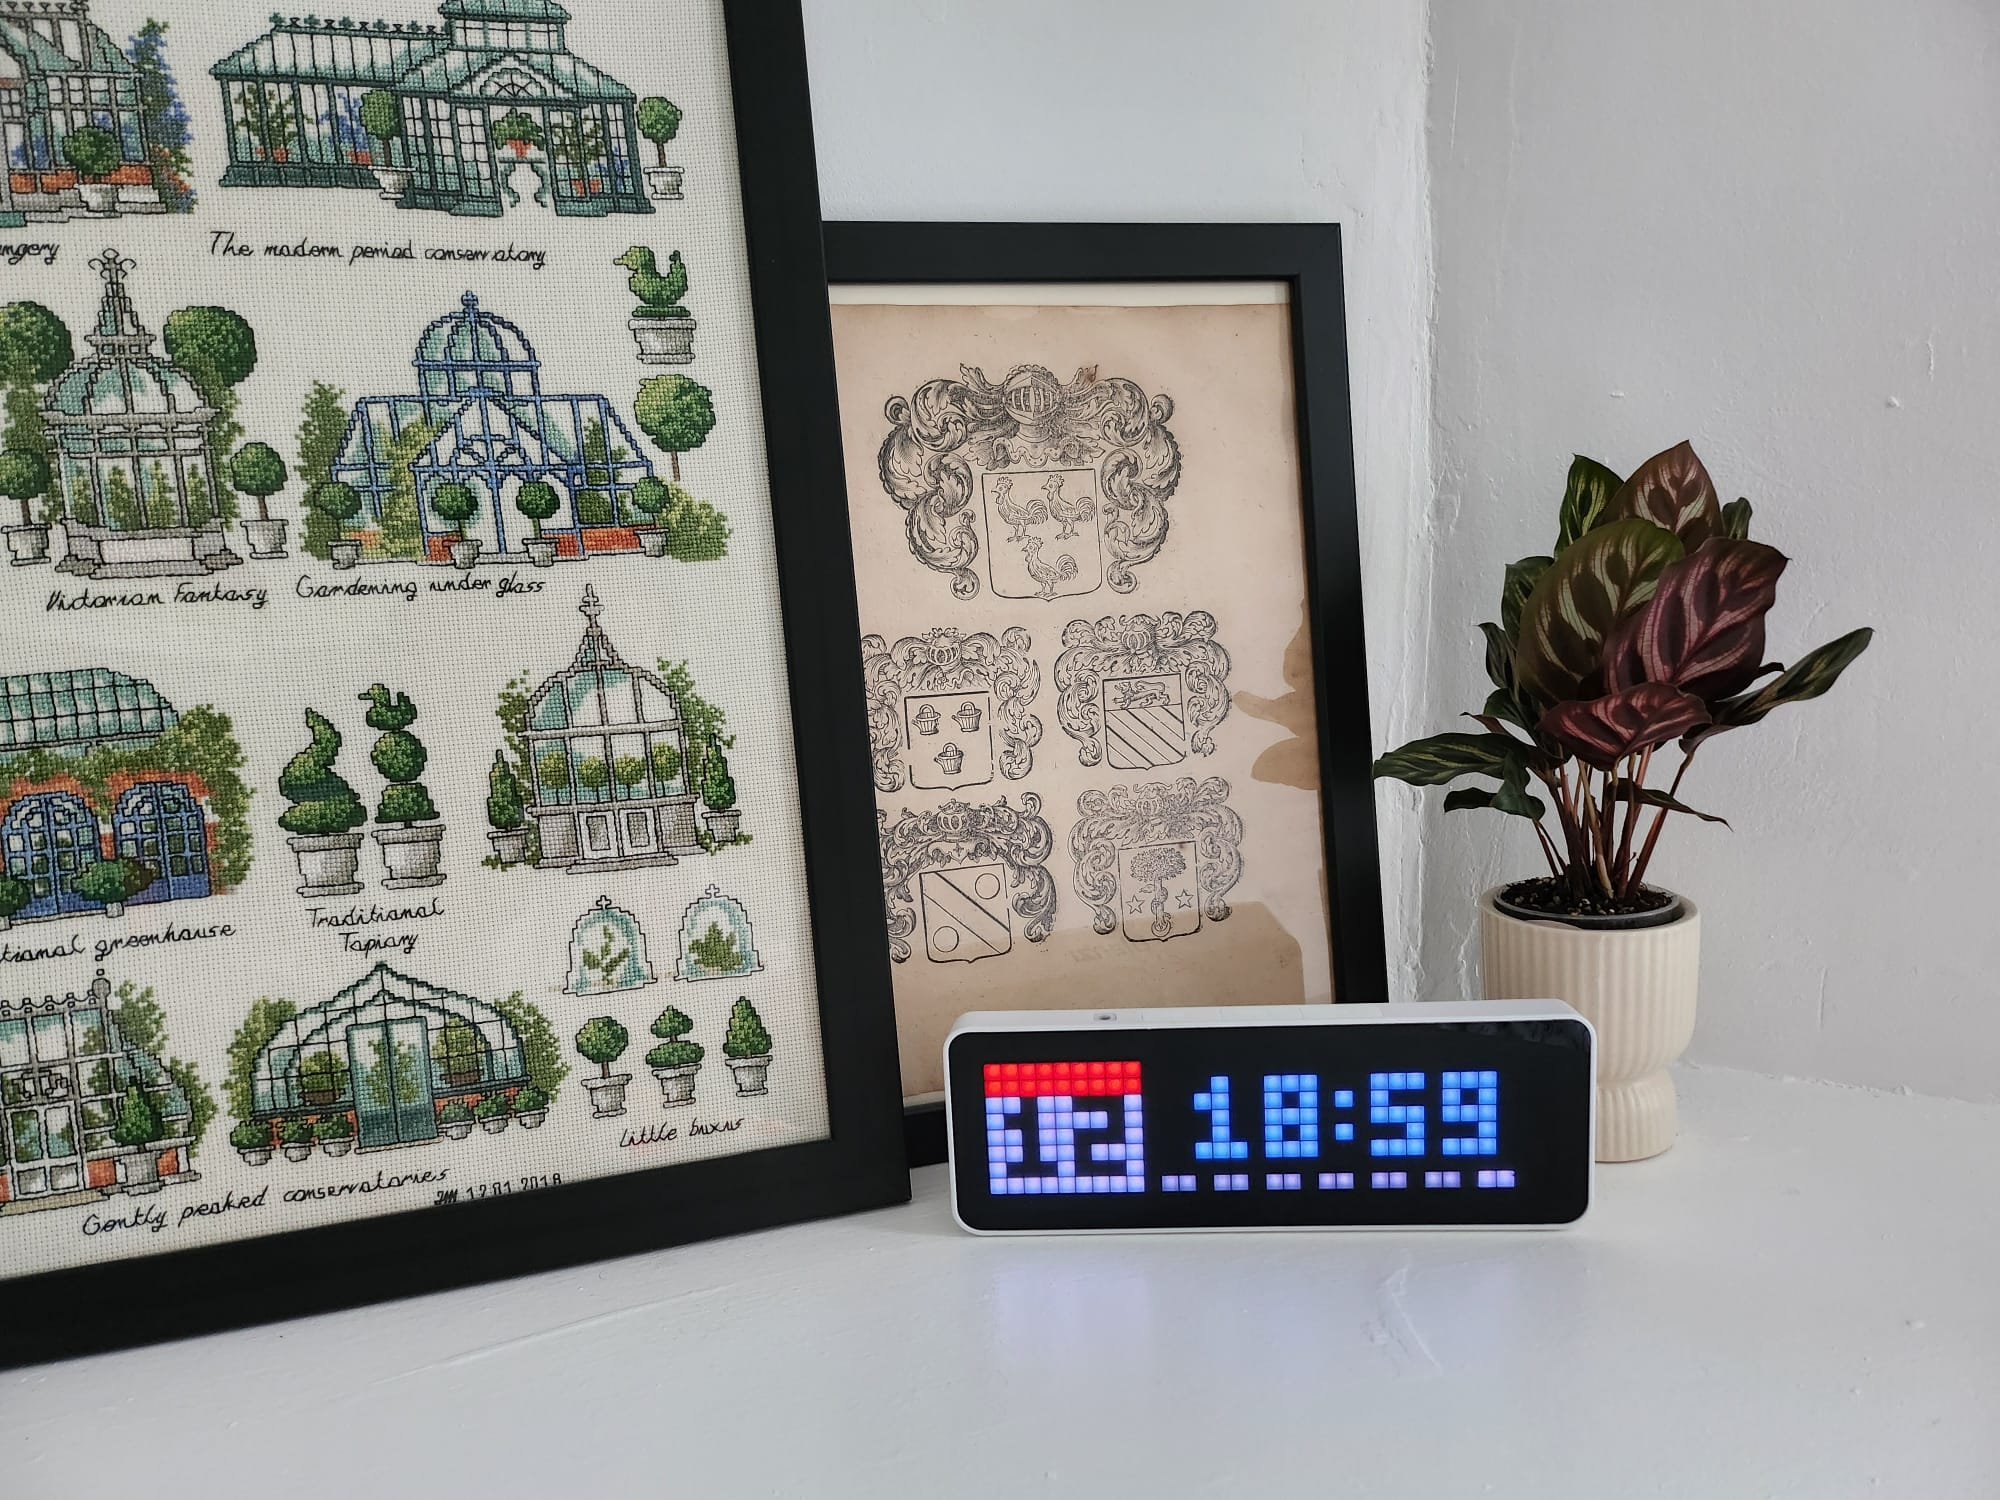
Recently, I came across a little gadget that caught my attention and could be a great addition to my home automation setup: the Ulanzi TC001, a small LED screen.
Let me explain why: as soon as an automation or a scenario triggers, I receive a small notification of the result (if I need to know). The issue is that I don’t always check my phone, I don’t have Home Assistant open all the time, and I especially don’t want to be disturbed by a sound notification. Moreover, notifications that I see after 2 hours don’t really interest me anymore (for the most part).
Ideally, I would like to have a small screen that displays important information in real-time (the relevance of which is defined by myself).
I could then quickly see if everything is fine, if I need to intervene (e.g., 3D printing finished, package delivered…) or have some information about the outside and stay focused on other tasks.
That’s why I decided to get myself a Ulanzi TC001 that perfectly meets this need.
What is Ulanzi TC001?
Ulanzi TC001 is a controllable RGB LED screen with 256 pixels that can display information through a web interface.
Among the features of the Ulanzi TC001, we find:
- Displaying the time.
- Displaying the weather (via the API of a website in China).
- Displaying your YouTube, Bilibili, Weibo, Douyin subscribers.
- A stopwatch.
- A really useless ‘Matrix’ effect.
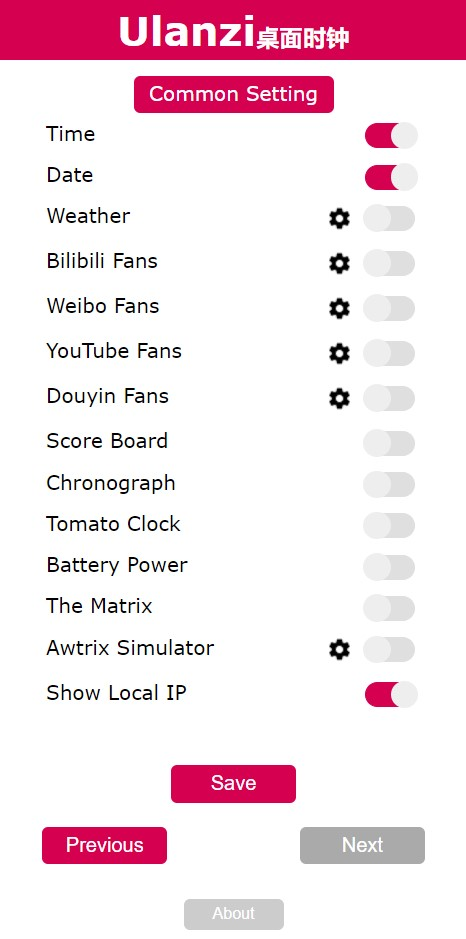
No API, no MQTT, but there is a great light sensor to adjust the screen brightness according to the ambient light.
I hope you won’t complain, this gadget is perfect and has no flaws! 😇
Jokes aside, in its current state, the Ulanzi TC001 doesn’t serve much purpose… It cannot be integrated into any home automation system.
So we’re going to reflash it with an alternative firmware: Awtrix 3!
For those who have PTSD from having to disassemble Chinese devices to install alternative firmwares like Tasmota or ESPHome, don’t worry, installing Awtrix 3 is very simple and is done entirely via a USB-C cable and a web interface (which uses the serial port).
Installing Awtrix 3
No need to download anything, everything is done through the Web interface.
- Connect the Ulanzi TC001 to your computer using the USB-C cable (the one provided with the device, for example).
- Turn on the Ulanzi TC001.
- Go to the Awtrix 3 Flasher address using a Chromium-based browser (e.g., Chrome, Edge, Chromium, etc.).
- Click on
Select Portand choose the serial port of the Ulanzi TC001. - Click on
Flash Firmwareand wait for the installation to complete.
There you go! The Ulanzi TC001 is now equipped with the Awtrix 3 firmware.
Configuring Awtrix 3
Once the firmware is installed, the Ulanzi TC001 will restart and broadcast a WiFi network named awtrix_XXXXX with the password 12345678.
Connect to this WiFi network and go to the address 192.168.4.1, where you can configure Awtrix to connect to our WiFi.
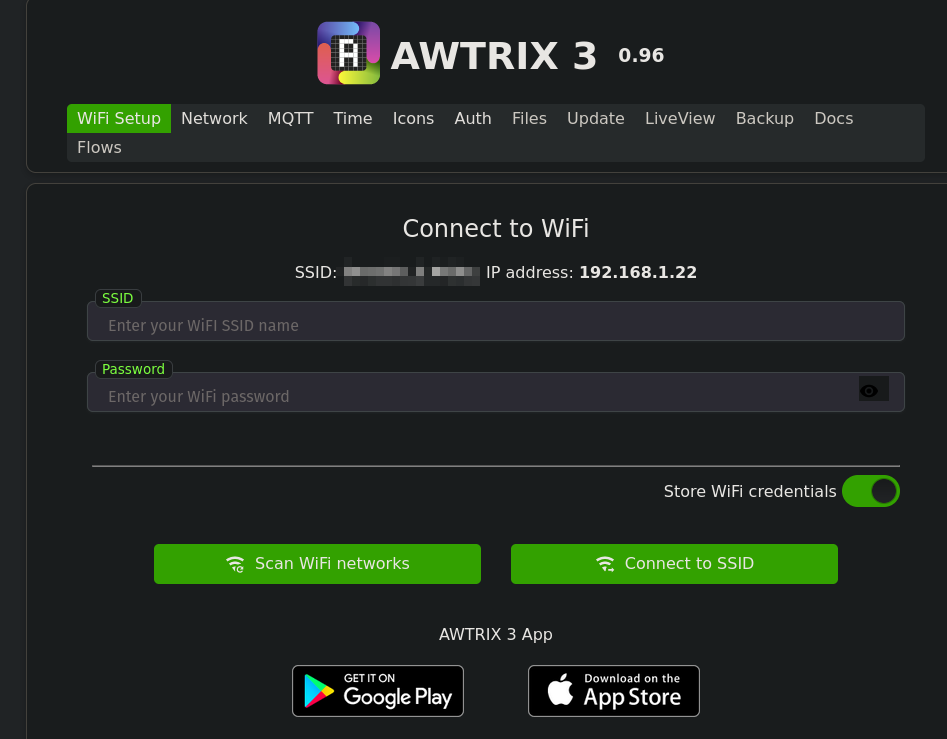
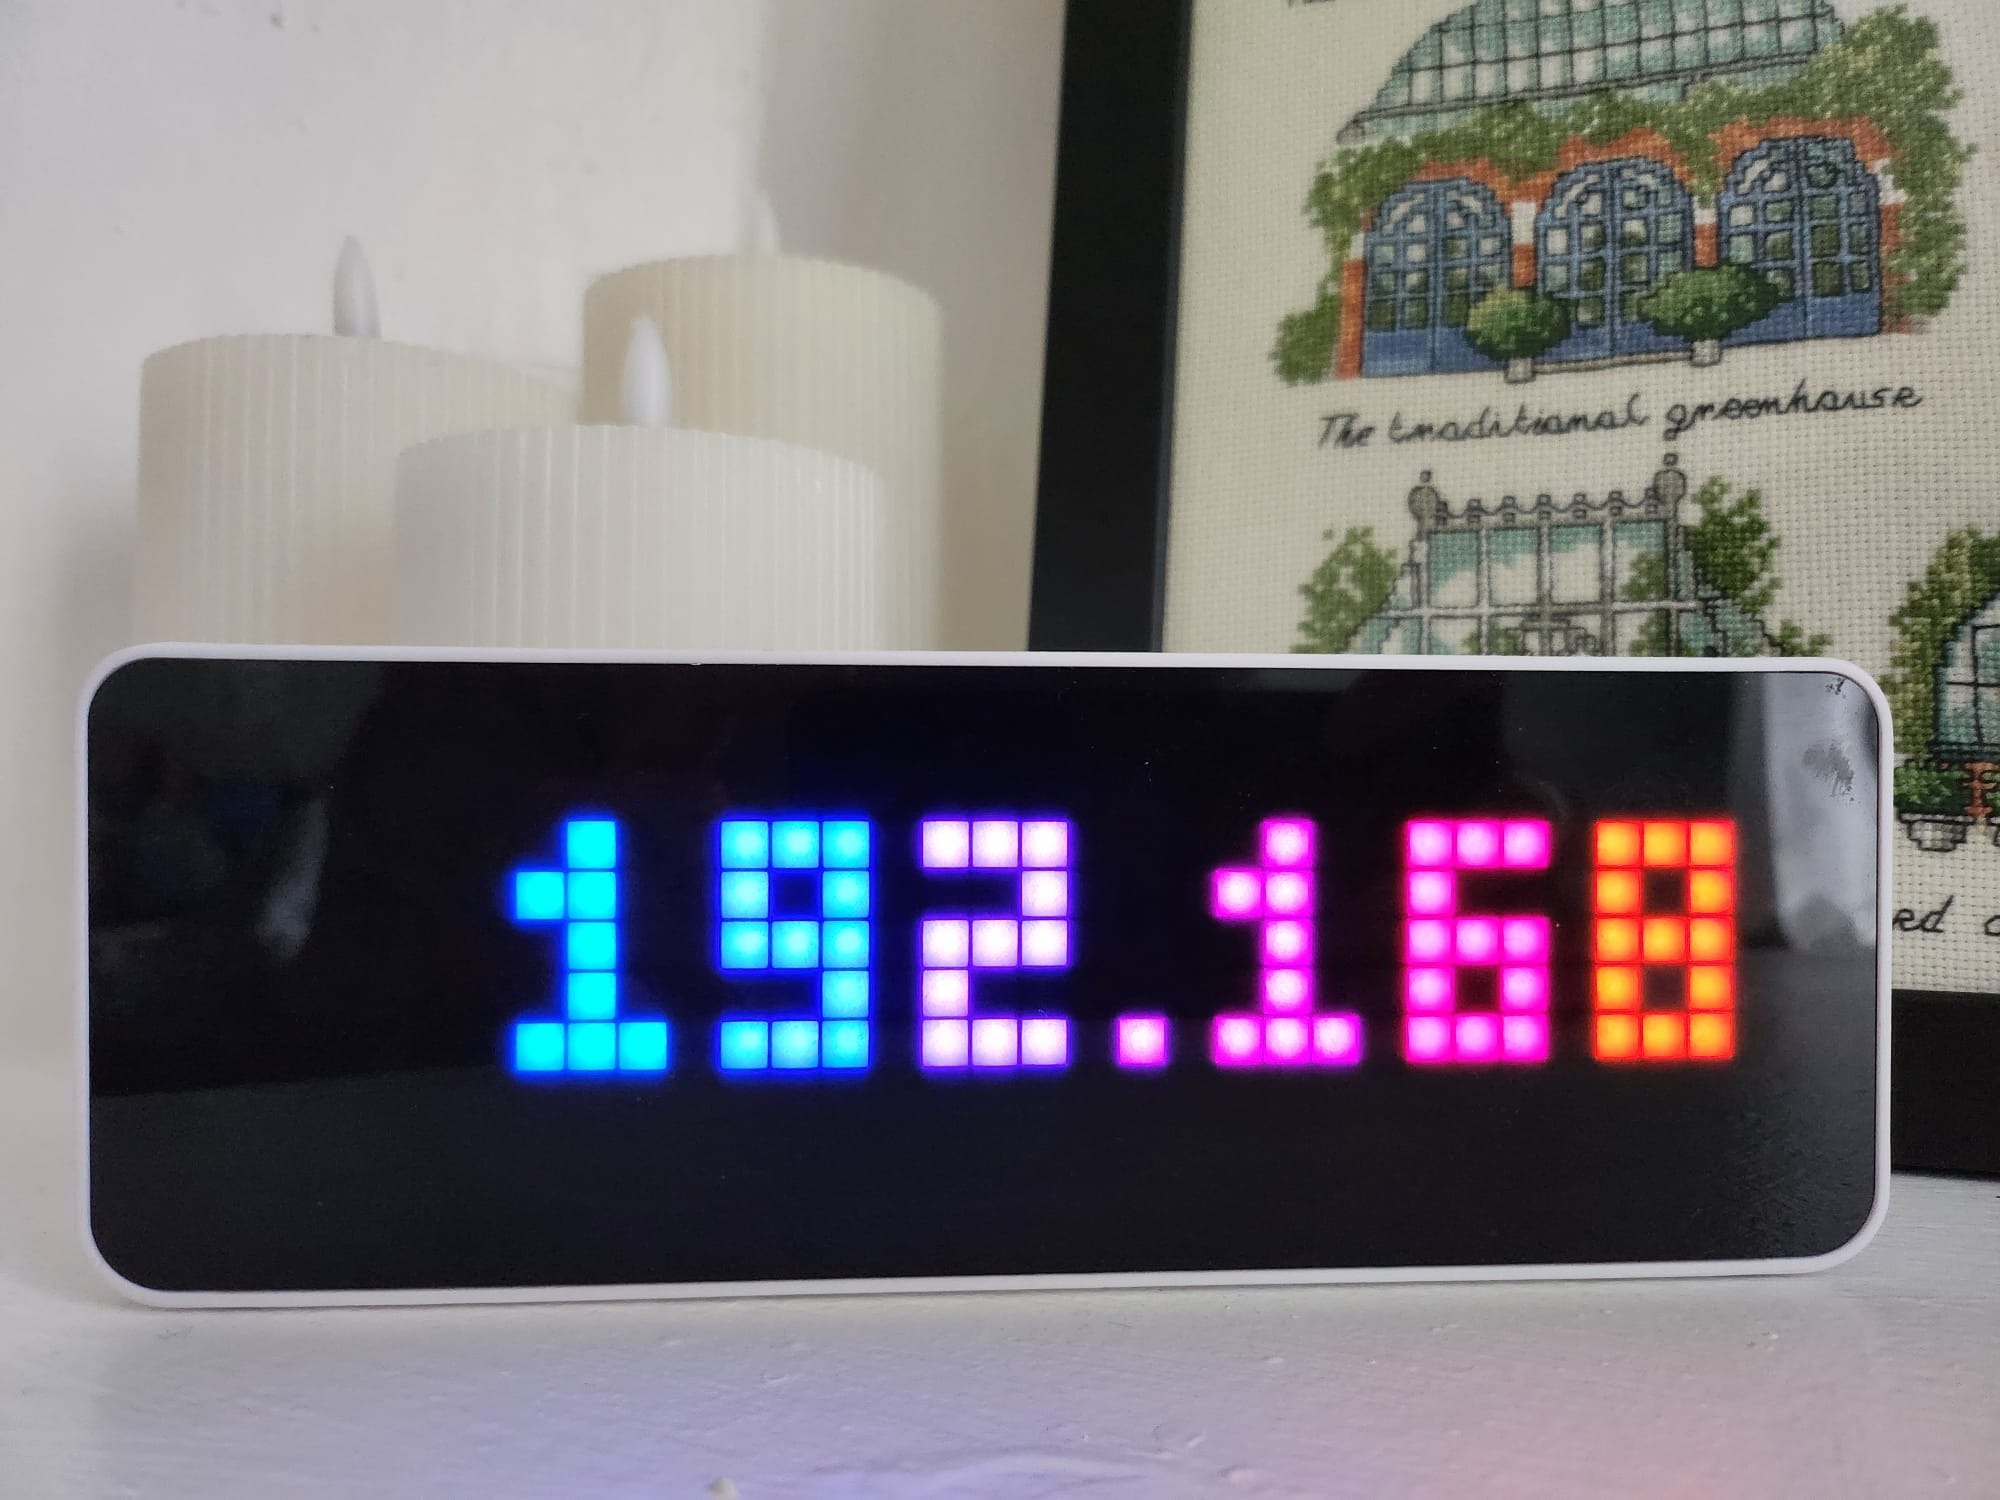
Once connected to your WiFi, you can access the Awtrix web interface via the IP address assigned by your router. This address is displayed on the Ulanzi TC001 screen at startup.
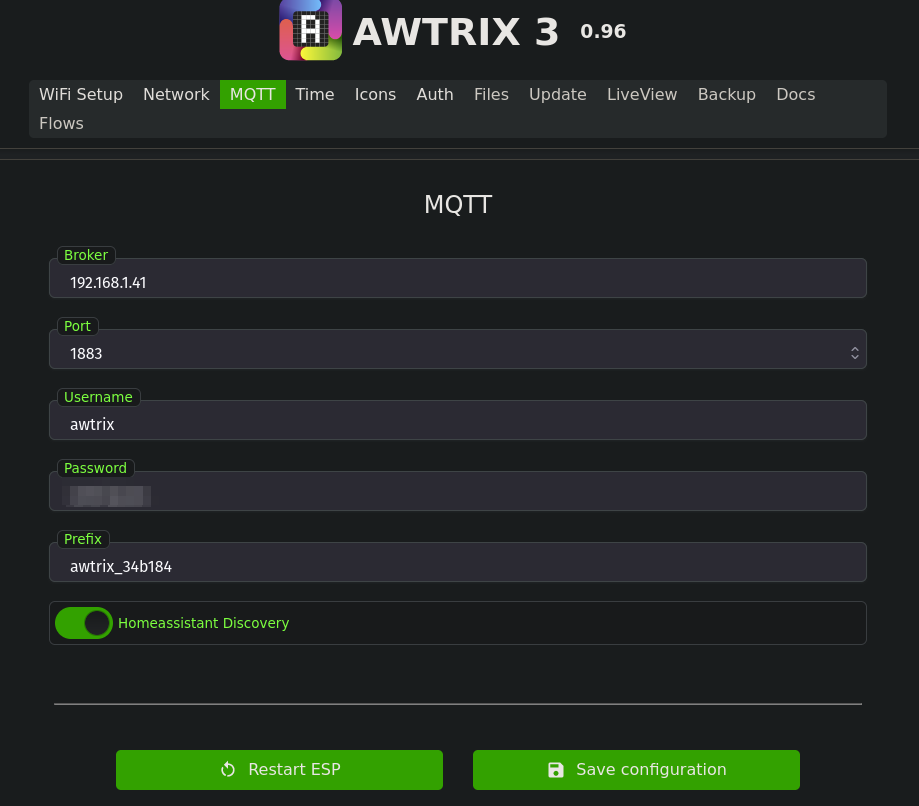
From the same web interface, you can configure the MQTT broker (the same one used by Home Assistant).
Note: If you don’t have Home Assistant, you can easily skip using an MQTT broker and communicate directly with Awtrix via the REST API.
Info
Quick guide to configure the MQTT broker on Home Assistant:
- Settings > Add-ons > Store > Mosquitto Broker > Install
- Go back to the settings of the Mosquitto Broker add-on and click on
Configurationto add MQTT users.
- username: homeassistant # MQTT user for Home Assistant
  password: homeassistant-pass
- username: zigbee2mqtt # MQTT user for Zigbee2MQTT
  password: zigbee2mqttpass
- username: awtrix
  password: awtrixpass
Save and restart the Mosquitto Broker add-on.
In the Home Assistant integrations, add a new MQTT integration and provide the following information:
- IP Address: IP address of your MQTT server (the IP address of Home Assistant if you installed Mosquitto Broker on Home Assistant)
- Port: 1883
- Username:
homeassistant - Password:
homeassistant-pass
Of course, do not use the same credentials as those given as an example, and make sure that your MQTT broker is properly secured.
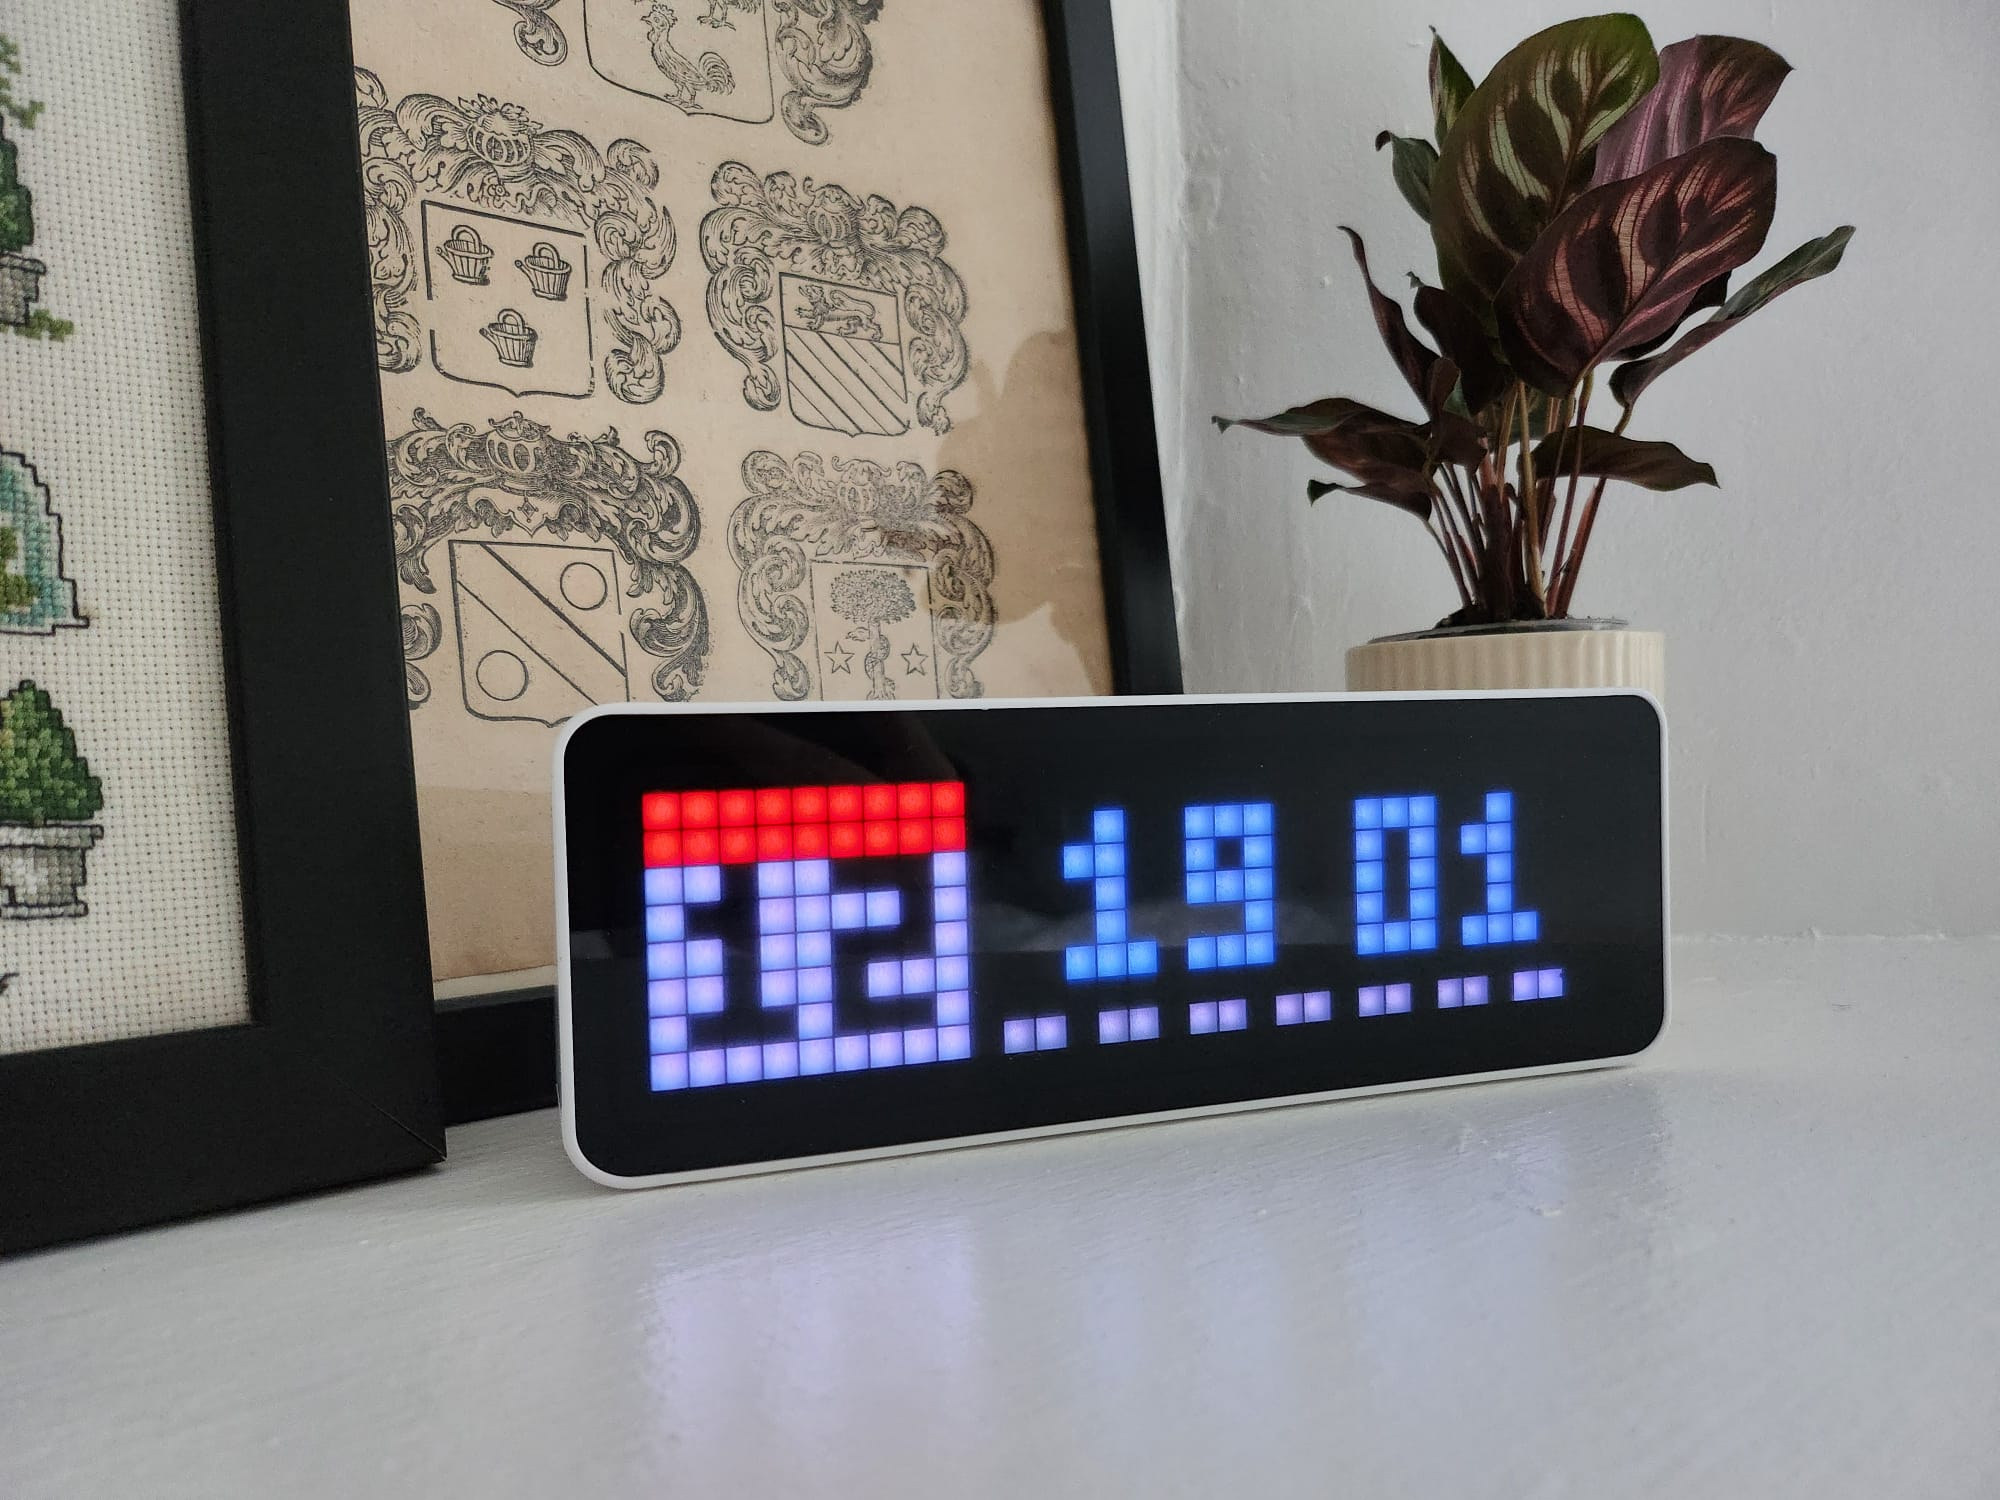
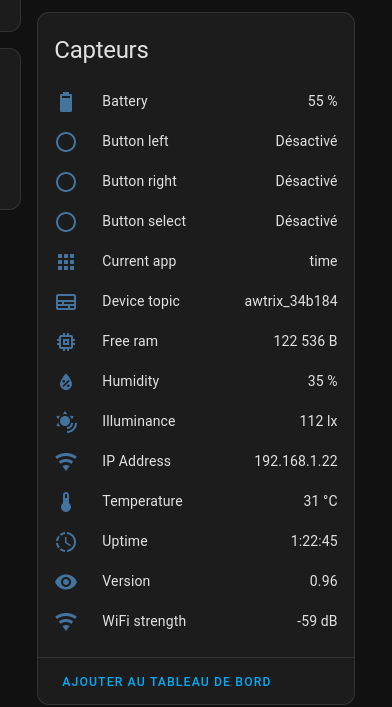
Once the Ulanzi is connected to WiFi (with or without MQTT Broker), it will display some scrolling information on the screen:
- Time
- Temperature and humidity
- IP address
- Battery
Now let’s see how to communicate with Awtrix from a remote machine.
Awtrix 3 in practice
Sending a notification to Awtrix
When you configured the MQTT broker, you had to specify a prefix for the MQTT topics. By default, this prefix is awtrix_xxxxxx (xxxxxx being the last 6 characters of the MAC address of the Ulanzi TC001).
In my case, the prefix is awtrix_34b184.
Let’s test the communication with the screen by sending a message to the awtrix_34b184/notify topic with a JSON message as the payload. This message will be automatically displayed on the screen, interrupting the scrolling information.
To read and publish MQTT messages, I use the tool mqttui which is a command-line MQTT client. It is fairly easy to use and offers advanced features such as displaying graphs directly in the terminal.

mqttui publish --username awtrix --password awtrixpass -b mqtt://192.168.4.11:1883 awtrix_34b184/notify "{'text': 'hello'}"

It’s magical! 🎩
But it’s missing something… what if we added some color?
mqttui publish --username awtrix --password awtrixpass -b mqtt://192.168.4.11:1883 awtrix_34b184/notify "{'text': 'coffee?', 'color': '00FF00'}"
That’s not bad, but we can do better. What if we added an icon to our notification?
Adding an icon to the notification
By default, Awtrix 3 only has icons for the built-in ‘applications’. To add custom icons, you can visit the laMetric website, which offers icons in 8x8 format.
I find the icon 49196 which represents a coffee bean and on the Icons page of the Awtrix web interface, I can add this icon by clicking the Download button after entering the ID.
I can then use the icon ID to display it on the screen
Tip
It is also possible to rename the icon file to make it easier to find (instead of using the ID 49196, I can rename the file to coffee and use icon: 'coffee' in the payload).
mqttui publish --username awtrix --password awtrixpass -b mqtt://192.168.4.11:1883 awtrix_34b184/notify "{'text': 'coffee?', 'color': '00FF00', 'icon': '49196'}"
⬆️ Interrupting the current application to display the notification.
There are numerous parameters that we can use to customize the display of notifications on the Awtrix. For more information, I invite you to consult the Awtrix 3 documentation, but here are a few:
hold:trueto display the notification until the user presses the button on the Awtrix or a new notification is sent.progress: to display a progress bar (from 0 to 100) below the text.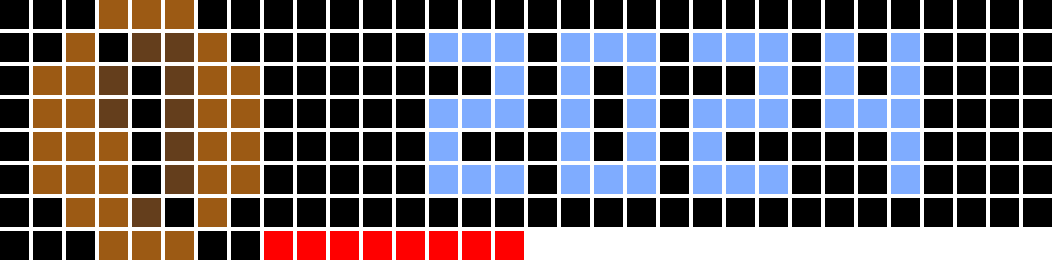
repeat: to repeat the notification x times.duration: to set the display duration of the notification in seconds.fade/blink: to animate the notification.
Adding information to the screen
By default, Awtrix not only reacts to MQTT messages, but also continuously displays information on the screen (such as time, weather, battery, temperature, humidity…), these are called applications.
These applications can be configured from the device itself (by pressing the left and right buttons for 3 seconds, then navigating to the App menu), but currently, I mainly want to display information from my home automation system.
To do this, using notifications is not suitable as they will be displayed on top of the already displayed information. Instead, I prefer to add a new piece of information during the scrolling of the applications.
To create a new application, simply publish a message on the topic awtrix_34b184/application_name with a JSON payload containing the information to be displayed. For example, to display the temperature and humidity:
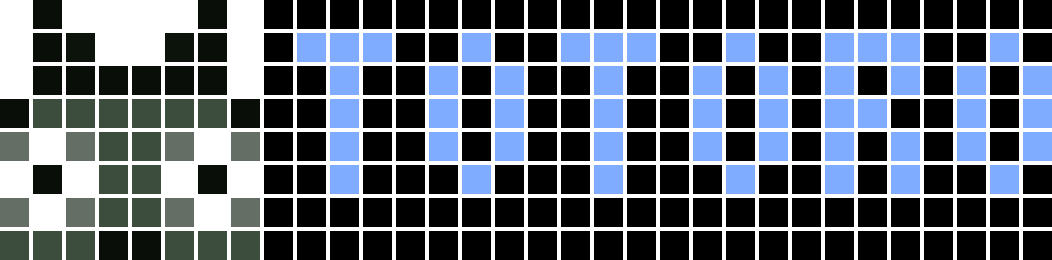
mqttui publish --username awtrix --password awtrixpass -b mqtt://192.168.4.11:1883 awtrix_34b184/custom/temperature "{'text': '20°C', 'icon': '2056'}"
After a few seconds, the temperature application will be displayed on the Awtrix screen.

I can then add another one to display the humidity:
mqttui publish --username awtrix --password awtrixpass -b mqtt://192.168.4.11:1883 awtrix_34b184/custom/humidity "{'text': '40%', 'icon': '18191'}"

Awtrix will display these two pieces of information during the scrolling of the applications using the latest payloads received on the topics awtrix_34b184/custom/temperature and awtrix_34b184/custom/humidity.
The parameters seen earlier for notifications are also applicable to applications, so you can customize the display of these applications according to your needs.
Effects
Every time you send a notification to the Awtrix, you can add a small background animation. Here are some examples of available effects:
Matrix: to simulate the Matrix effect.
mqttui publish --username awtrix --password awtrixpass -b mqtt://192.168.4.11:1883 awtrix_34b184/notify "{'text': '', 'effect': 'Matrix'}"

Firework: to simulate a fireworks display.

mqttui publish --username awtrix --password awtrixpass -b mqtt://192.168.4.11:1883 awtrix_34b184/notify "{'text': '', 'effect': 'Fireworks'}"
PingPong: to simulate a game of ping-pong.

mqttui publish --username awtrix --password awtrixpass -b mqtt://192.168.4.11:1883 awtrix_34b184/notify "{'text': '', 'effect': 'Fireworks'}"
API REST
The payloads sent via MQTT can also be sent via REST API with exactly the same parameters.
To take the previous examples, here’s how to send a notification using the REST API:
$ curl -X POST -H "Content-Type: application/json" -d "{'text': 'totoro', 'icon': '16619'}" http://192.168.1.22/api/notify
OK
Info
If you have set Awtrix to require authentication. You’ll need to add a header specifying your credentials. For example, if you log in with user “awtrix” and password “coffee”:
BASIC_AUTH=$(echo -n "awtrix:coffee" | base64)
curl -X POST -H "Content-Type: application/json" -H "Authorization: Basic $BASIC_AUTH" -d "{'text': 'totoro', 'icon': '16619'}" http://192.168.1.22/api/notify
And here’s how to add an application using the REST API:
$ curl -X POST -H "Content-Type: application/json" -d "{'text': 'APERO!', 'icon': '3253'}" http://192.168.1.22/api/custom?name=time
OK

And what about Home Assistant?
Now that Awtrix is configured and we know how to communicate with it, it’s time to integrate it with Home Assistant.
First, we have some sensors that provide information on the screen (temperature, humidity, IP address, battery…).
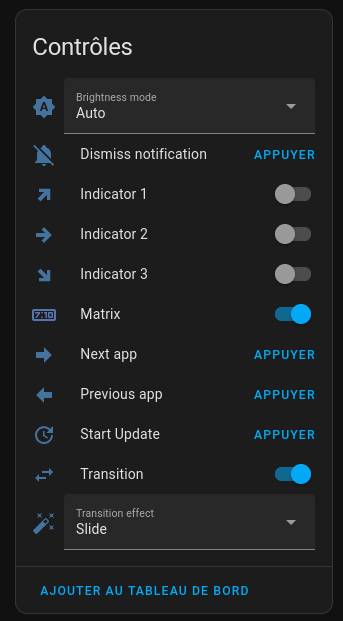
We also have some controllers (switches) to enable/disable screen effects, virtually click buttons, or hide the current notification.
But all of this is nice, but what we really want is to be able to send notifications or display information (applications) from Home Assistant!
To do this, we will use the MQTT component of Home Assistant to send messages to the Awtrix.
I have created two small scripts to send notifications and create applications on the Awtrix:
Script to create a custom_app
alias: awtrix_custom_app
sequence:
  - service: mqtt.publish
    metadata: {}
    data:
      qos: 0
      retain: false
      topic: "{{ prefix }}/custom/{{ topic }}"
      payload: |-
        {
            "icon": "{{ icon }}",
            "text": "{{ text }}",
            "color": "{{ color }}",
            "pushIcon": 0,
            "repeat": "{{ repeat }}",
            "effect": "{{ effect }}",
            "hold": "{{ hold }}"
          }
icon: mdi:cloud
mode: single
fields:
  icon:
    selector:
      text: {}
    required: true
    name: icon
    description: Icon used for the notification
  text:
    selector:
      text: null
    name: text
    required: true
    default: message
    description: Message to display
  topic:
    selector:
      text: null
    name: topic
    required: true
    description: Topic for the custom app
  repeat:
    selector:
      number:
        min: 1
        max: 10
    name: repeat
    required: false
    default: 2
    description: Number of times to repeat the notification
  prefix:
    selector:
      text: null
    name: prefix
    default: awtrix_34b184
    description: MQTT prefix for the Awtrix
  color:
    selector:
      text: null
    name: color
    default: FFFFFF
  effect:
    selector:
      text: null
    name: effect
    default: " "
    description: Effect to display with the notification
  hold:
    selector:
      boolean: {}
    name: hold
    default: false
    description: Hold the notification until the user press the button
Script to send a notification
alias: awtrix_notification
sequence:
  - service: mqtt.publish
    metadata: {}
    data:
      qos: 0
      retain: false
      topic: "{{ prefix }}/notify"
      payload: |-
        {
            "icon": "{{ icon }}",
            "text": "{{ text }}",
            "color": "{{ color }}",
            "pushIcon": 0,
            "hold": {{ hold|lower }},
            "repeat": "{{ repeat }}",
            "effect": "{{ effect }}"
          }
icon: mdi:cloud
mode: single
fields:
  icon:
    selector:
      text: {}
    required: true
    name: icon
    description: Icon used for the notification
  text:
    selector:
      text: null
    name: text
    required: true
    default: message
    description: Message to display
  repeat:
    selector:
      number:
        min: 1
        max: 10
    name: repeat
    required: false
    default: 2
    description: Number of times to repeat the notification
  prefix:
    selector:
      text: null
    name: prefix
    default: awtrix_34b184
    description: MQTT prefix for the Awtrix
  color:
    selector:
      text: null
    name: color
    default: FFFFFF
  effect:
    selector:
      text: null
    name: effect
    default: " "
    description: Effect to display with the notification
  hold:
    selector:
      boolean: {}
    name: hold
    default: false
    description: Hold the notification until the user press the button
These scripts are missing a few parameters to be complete, but they are sufficient to send notifications and applications to the Awtrix.
Now that I have my Home Assistant scripts, I can call them from automations. For example, here is my script to display the outdoor temperature on the Awtrix (the temperature is retrieved from the weather integration of Home Assistant, and HA sends the temperature to the Awtrix every 5 minutes):
alias: Awtrix - CustomApp Temperature
description: ""
trigger:
  - platform: time_pattern
    minutes: /5
    hours: "*"
condition: []
action:
  - service: script.awtrix_message
    metadata: {}
    data:
      text: "{{ state_attr('weather.forecast_maison', 'temperature') }}"
      repeat: 2
      prefix: awtrix_34b184
      color: FFFFFF
      hold: false
      topic: meteo
      icon: "2497"
mode: single

For notifications, here’s an example of an automation that sends a notification to the Awtrix when a package is delivered:
alias: boite à lettre - colis arrivé
description: ""
trigger:
  - platform: state
    entity_id:
      - binary_sensor.boite_a_lettre_contact
condition: []
action:
  - service: script.awtrix_notification_2
    data:
      prefix: awtrix_34b184
      color: FFFFFF
      text: Colis !
      icon: "22554"
      hold: true
      repeat: 1
mode: single

Conclusion
Once the Awtrix is configured, it is very easy to communicate with it using MQTT or its REST API. The integration with Home Assistant is straightforward (although I would have preferred a native integration without having to create a script), and the possibilities are quite vast. I will try to share other automations that I have set up with the Awtrix on social media.
I’m tempted to have fun programming an AlertManager → Awtrix bridge to display alerts from my services on the screen (we’ll see if I’m not too lazy). Many people share their automations using Node-RED or N8N to integrate the Awtrix into their home automation systems. I invite you to check out this website for inspiration.
In short, it’s a gadget that has found its place in my home automation and allows me to keep an eye on my automations without bothering with notifications on my phone.